The Essl UFace 302/602 biometric device must be properly configured to ensure seamless attendance data synchronization between the biometric machine and NextOS. This setup involves configuring the required network settings, connecting the device to the internet, and linking it to the NextOS server.
You can follow the steps below to complete the initial configuration on the biometric device first.
1. Power on the device
- Connect the power cable and switch on the device.
2. Connect to the internet
- Connect the device using a LAN cable (recommended).
- Use Wi-Fi only if the device supports it.
- Check the device display and ensure the internet connection is active.
- If the device is not connected, resolve the network issue before proceeding.
Before LAN/WiFi Connection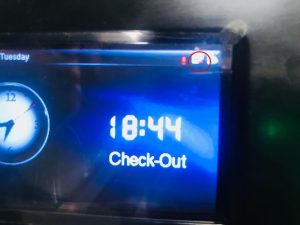 | After LAN/WiFi Connection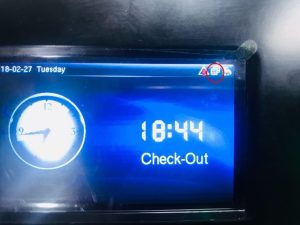 |
3. Access COMM Settings
To configure IP Address & other Server settings.
3.1 Ethernet (LAN) settings
- Tap the MENU icon from home screen, and locate the COMM from menu items.
- Select Ethernet, Press OK to configure following details :
MENU > COMM > Ethernet- IP Address
- Subnet Mask
- Gateway
- DNS
- Alternatively, enable DHCP to allow the device to automatically detect these values.
Navigate to COMM | Ethernet Settings |  |
3.2 ADMS (server settings)
- From COMM, navigate to Cloud Server Setting
MENU > COMM > Cloud Server Setting - Enable the Domain Name option.
- Enter the server address as:
“https://nlp.nexterp.in/” or “nlp.nexterp.in”

4. Verify server connection
- After saving the Cloud Server Settings, the device should show Connected to Server on the screen.
5. Complete setup in NextOS
- Once the device is connected to the server, additional configuration is required in NextOS to sync staff data and complete device-user mapping.
Refer to : How can I integrate biometric devices for my school?
Additional Guide
How can I map new staff members to a biometric device?
How can I register a Face ID on a biometric device?
How can I register fingerprints on a biometric device?
How can I configure an RFID card on a biometric device?
How to get started with Biometric attendance in NextOS?