“To get started, you must be logged in with the Admin or Principal credentials.”
Step 1: Click on Settings >> Administration >> School Setup
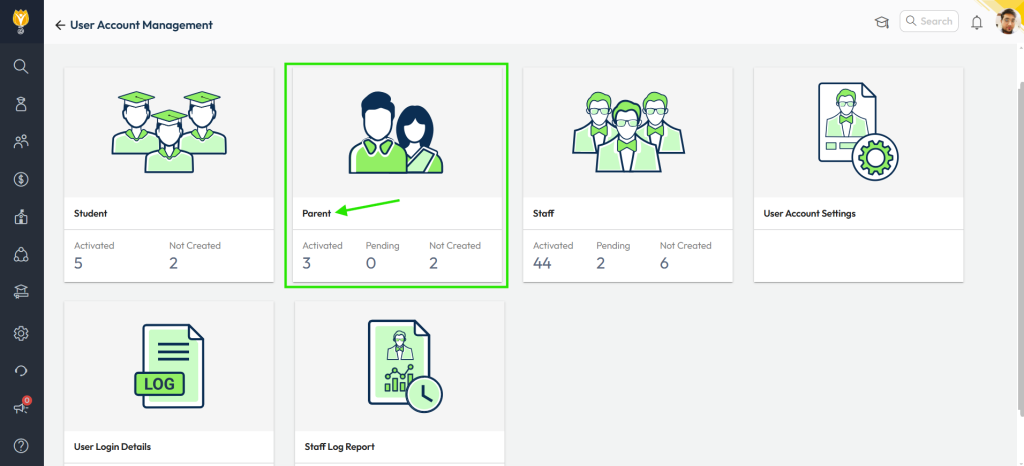
Step 2: Locate User Account Management and click on it.
Step 3: Click on the Parent option to proceed.

Step 4: On this screen, follow the steps in the order mentioned below:
- Navigate to the Not Created tab.
- Select the specific class & section for which you want to create parent accounts.
- Alternatively, you can select all parents listed under the Not Created tab by using the “Select All” radio button.
- Click Activate Now in the top-right corner to proceed.

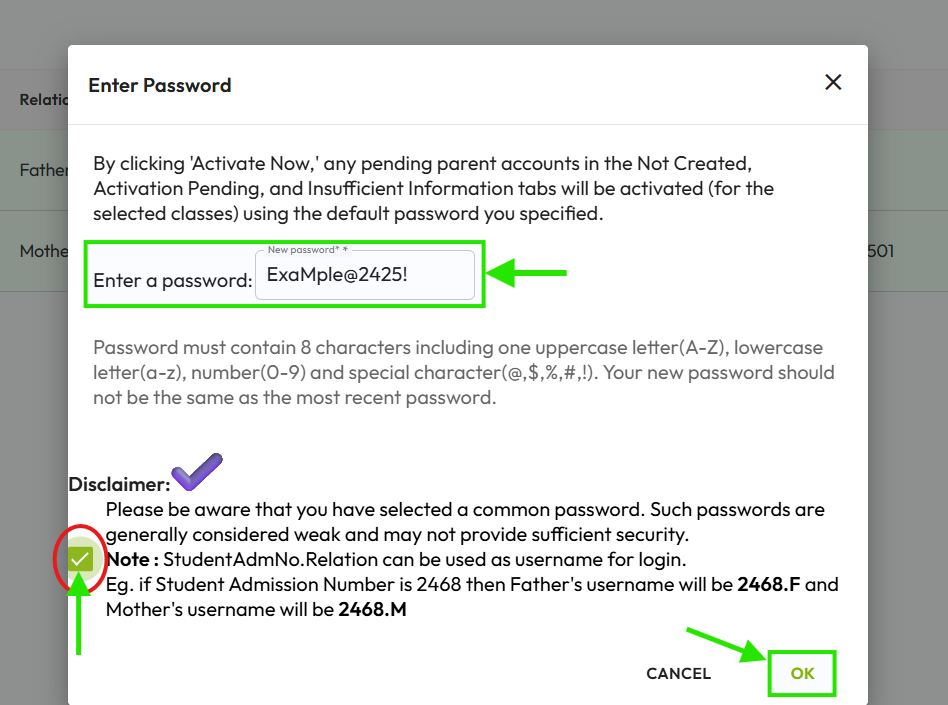
Step 5: On the next screen, set a common password for all selected parents. Ensure the password meets the following criteria:
- Minimum 8 characters in length.
- Includes at least:
- One uppercase letter (A-Z).
- One lowercase letter (a-z).
- One number (0-9).
- One special character (@, $, %, #, !).
Step 6: Review the disclaimer and check the box to provide consent.
Step 7: Click OK. This action will create and activate the parent accounts.
Additional Note:
- The username will be the student’s admission number followed by the first letter of the parent’s relationship with the student.
- Example: If the Student Admission Number is 2468, the father’s username will be 2468.F and the mother’s username will be 2468.M.
- The password will be the common one set by the school administrator.

Related Articles
- How can I create a parent account?
- How can a parent activate their account using an OTP message?
- How can a parent activate their account using an activation email?
- How can I activate student account using the Parent Account?
Video Tutorial
Was this article helpful to you?
Yes1
No0