You can update student class details in bulk by following these steps:
Part 1: Downloading Existing Student Data
Step 1: Navigate to Settings -> Administration -> School Setup
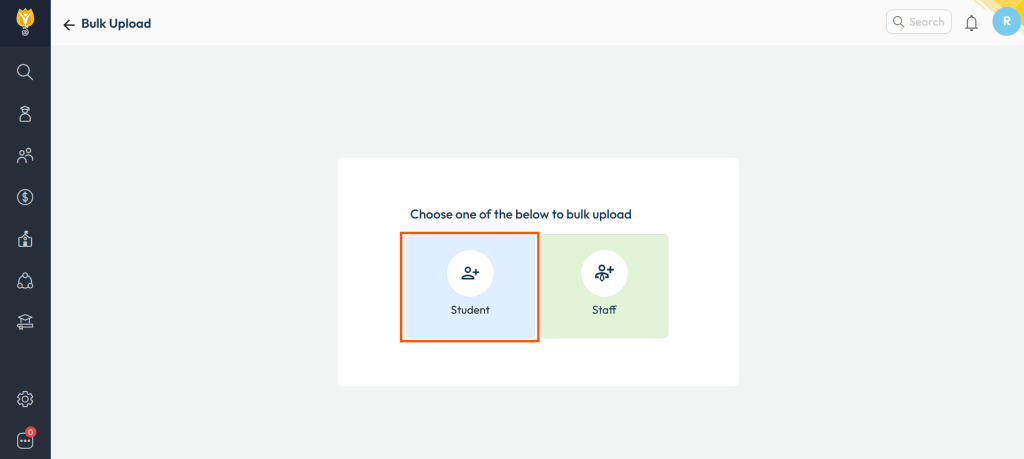
Step 2: Click on Bulk Student/Staff Upload, then select Student from the next screen.
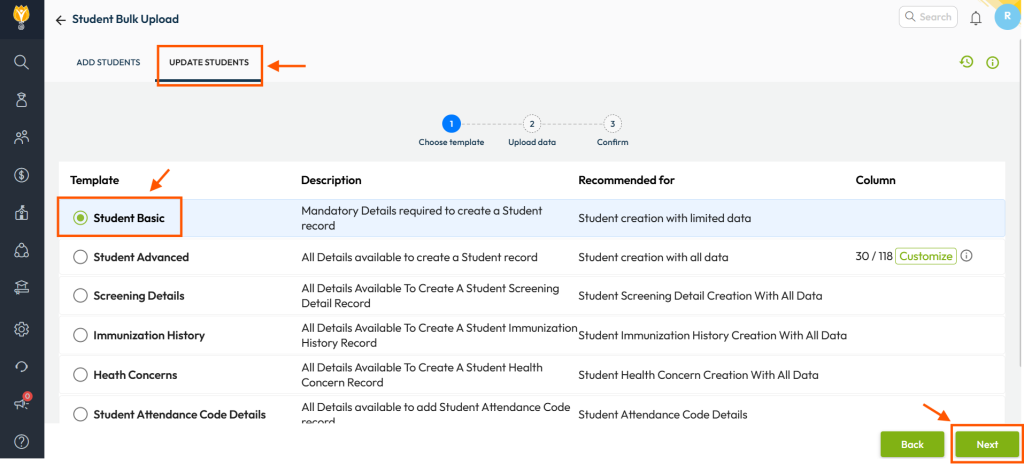
Step 3: Switch to the ‘Update Students’ tab, select ‘Student Basic’, then click Next (bottom right corner).
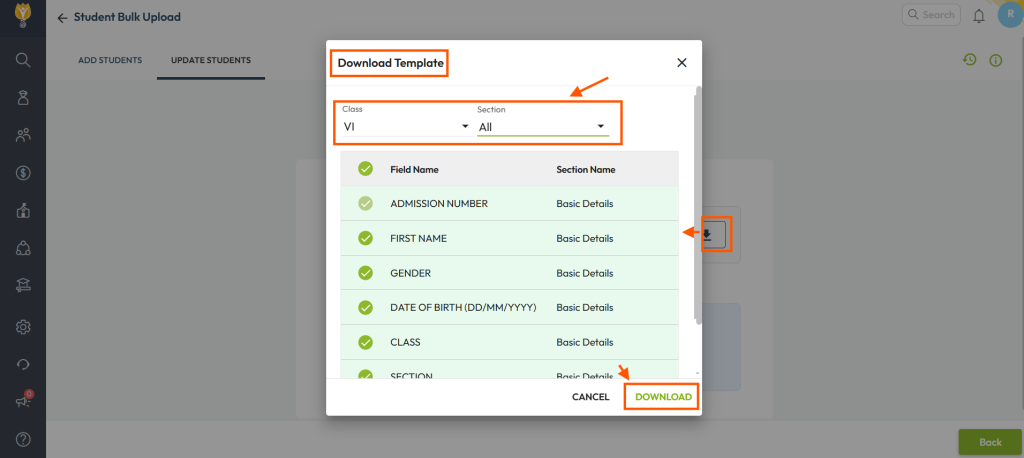
Step 4: On the next screen, Select the specific class & section where changes are required OR choose ‘All’. Click Download to proceed with excel download.
Part 2: Modifying the Downloaded Excel File
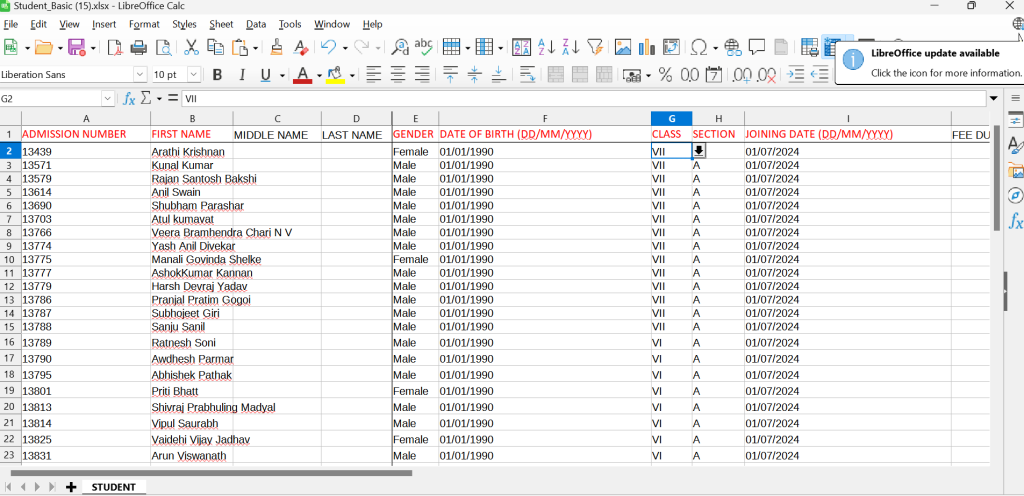
Step 5: Update the class and section details in the downloaded Excel file.
⚠ Note: You should not update a student’s class if their fees have been collected or examination entries have already been made.
Part 3: Reuploading the Modified Excel File
Step 6: Return to Bulk Student/Staff Upload in NextOS
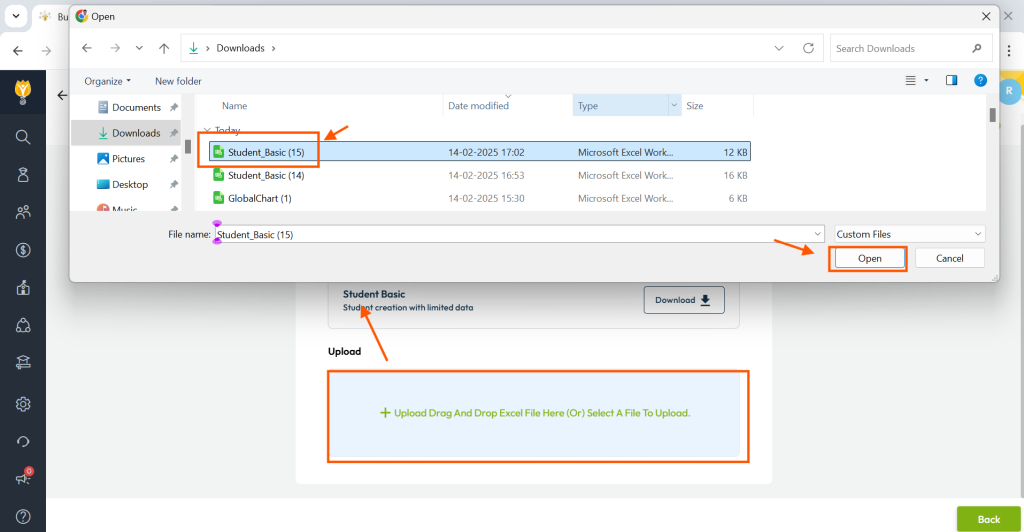
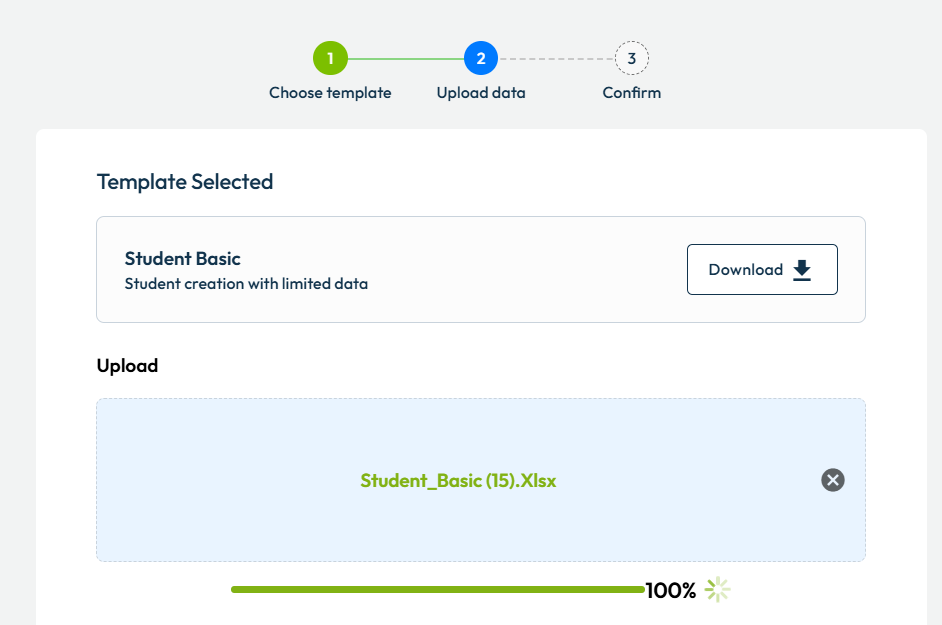
Step 7: Locate the Upload section and click ‘Upload Drag and Drop Excel File Here (Or) Select a file to Upload’ to choose the updated file.
💡 Tip: You can either drag and drop the file directly or browse your system to select it manually.
Part 4: Validating the Student Data
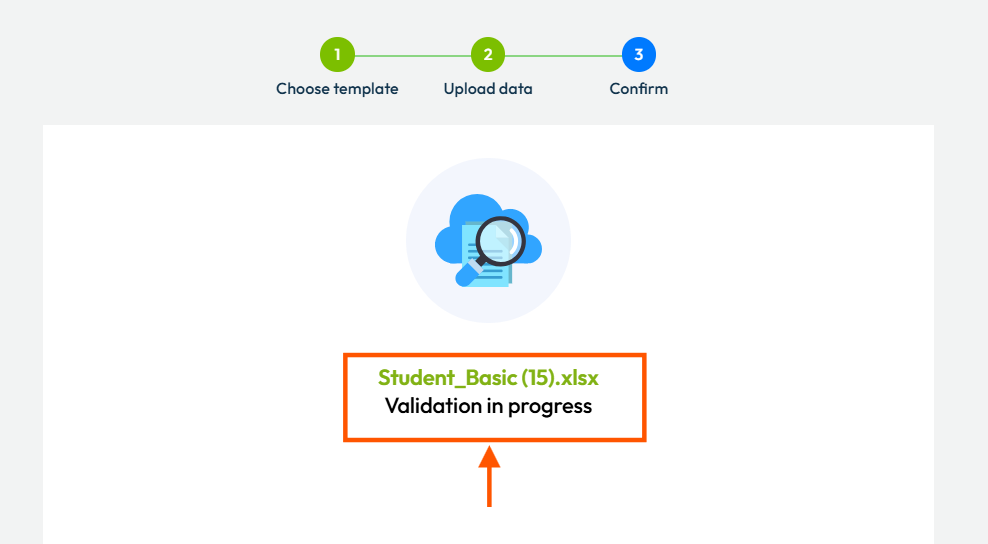
Step 8: The system will automatically validate the file for formatting errors and data consistency with existing records in NextOS.
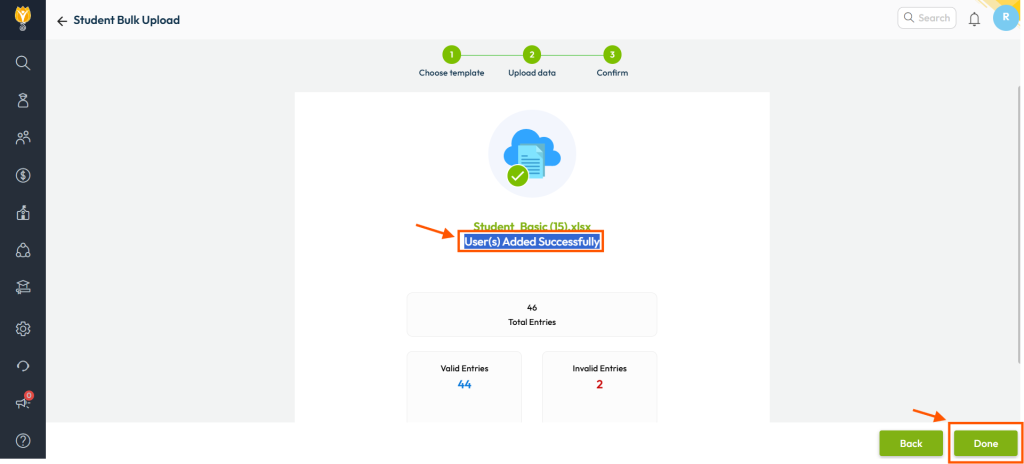
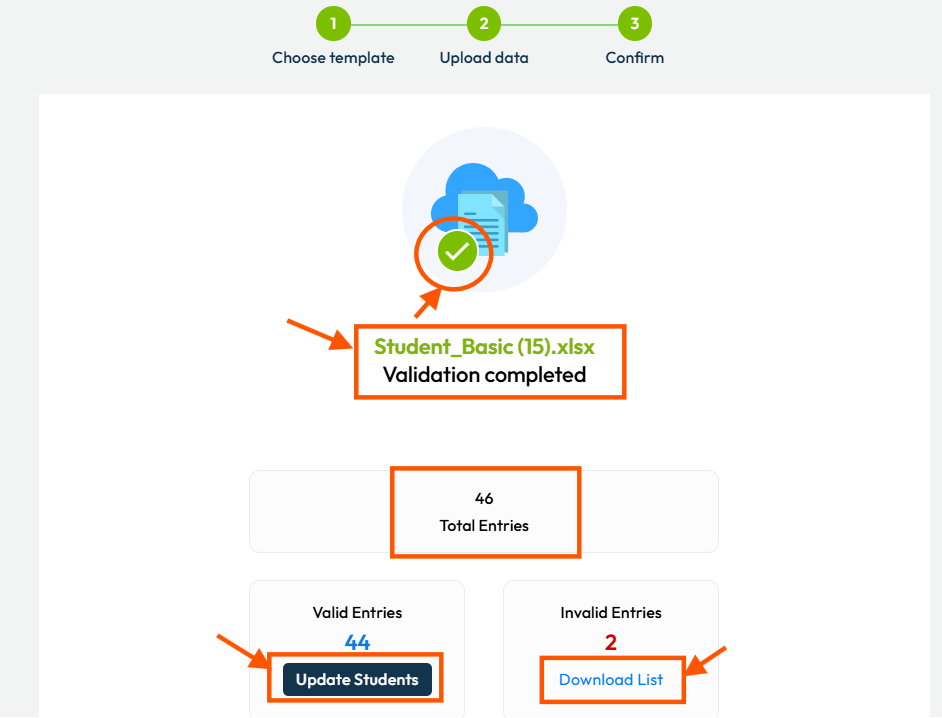
Step 9: If validation is successful, the status will show Validation Completed with:
✅ Total Entries
✅ Valid Entries
❌ Invalid Entries (if any)
If there are invalid entries, download the separate error file, correct them, and re-upload
Part 5: Final Update
Step 10: Click ‘Update Students’ to proceed with the valid entries.
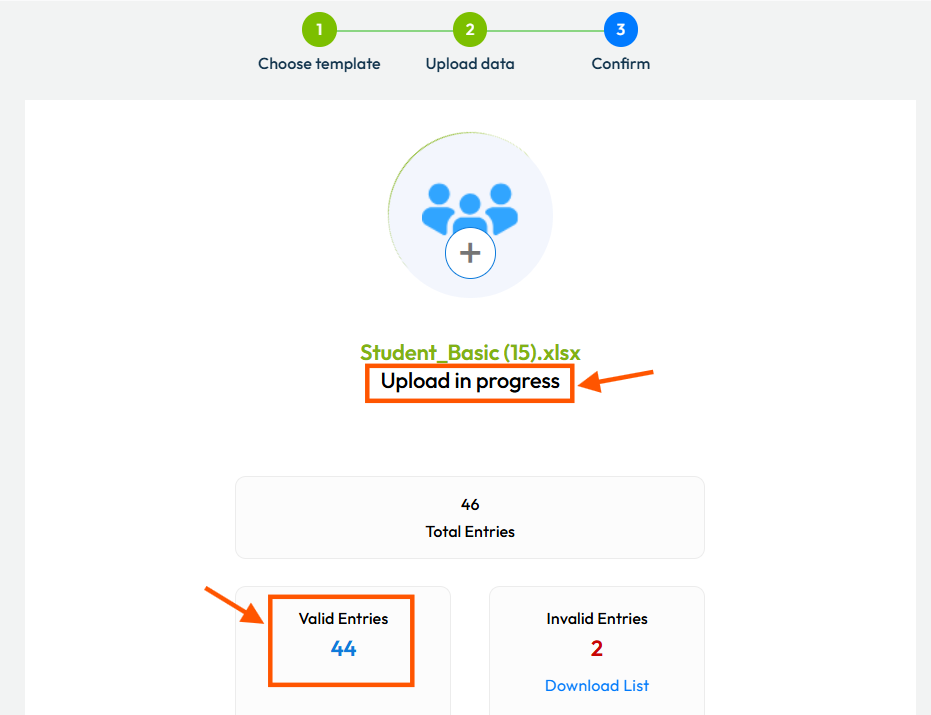
✅ Congratulations! The update is successfully completed, and the status will change to ‘User Added Successfully’.
Step 11: Click Done to complete and end the process.