Configuring a fee challan involves two parts — setting up the autonumbering and mapping the challan template.
Part 1: Configure Auto-Numbering
- Navigate to Settings > Finance > Fee > Fee Autonumbering Sequence
- Click on the (+) Add icon
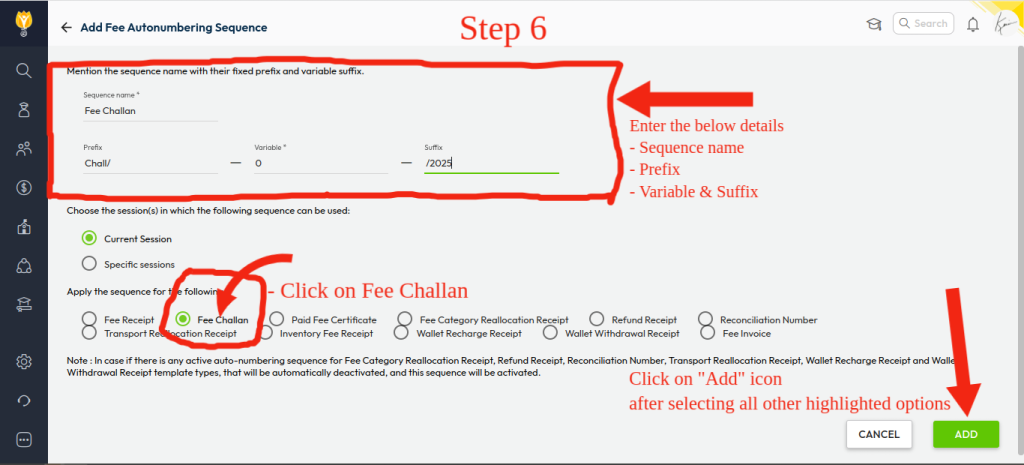
- Configure the auto-numbering as required:
- Sequence Name (e.g., Fee Challan)
- Prefix (e.g., CHAL, FC etc.)
- Variable (set to 0 or a desired number) – If you set to 0, Numbering will start from its next number as 1
- Suffix (e.g., /2026) – This is optional field
- Apply To: Fee Challan (Radio button)
- Click Add to save the sequence
This ensures each challan receives a unique auto-generated number.
Part 2: Map the Fee Challan Template
- Go back to Settings > Finance > Fee
- Click on Fee Challan Template
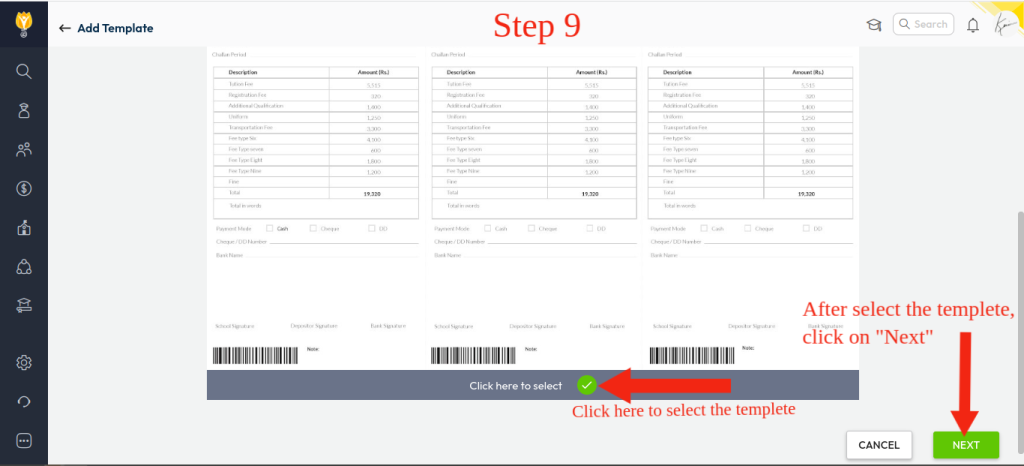
- Click on Create New
- Click Click here to select to choose the template > Click Next
- Select the Classes to which the challan is applicable > Click Next
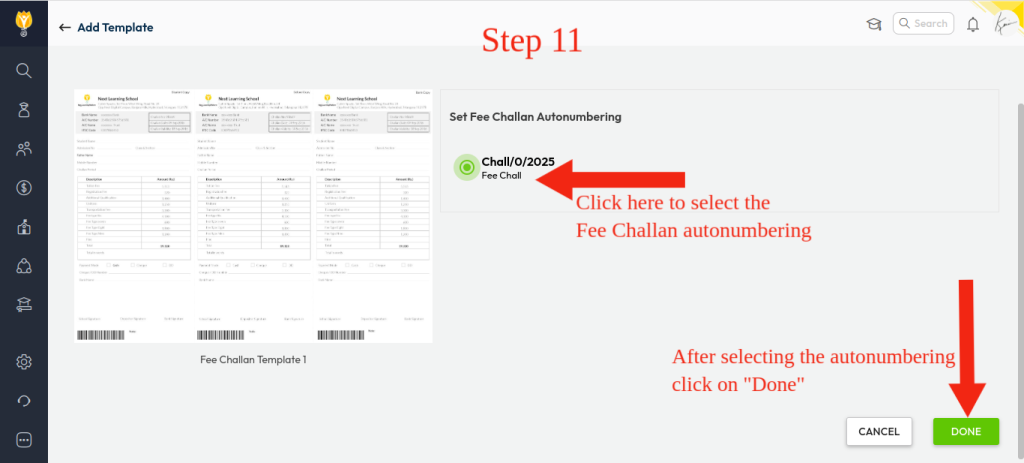
- Select the Fee Challan Autonumbering you created earlier > Click Done
Once completed, newly generated fee challans will automatically carry a unique number and follow the mapped template, ensuring consistent formatting and reducing manual errors.
Video Tutorial :
Was this article helpful to you?
Yes0
No0