To display the Principal’s signature on the Student ID card, ensure the designated staff member is assigned the Principal role and their digital signature is uploaded. The process involves two main parts:
Part 1 : Assign the Principal Role & Upload Signature
- Navigate to Staff > Staff List and Reports > Staff List
- Search and select the staff member who should be assigned as Principal
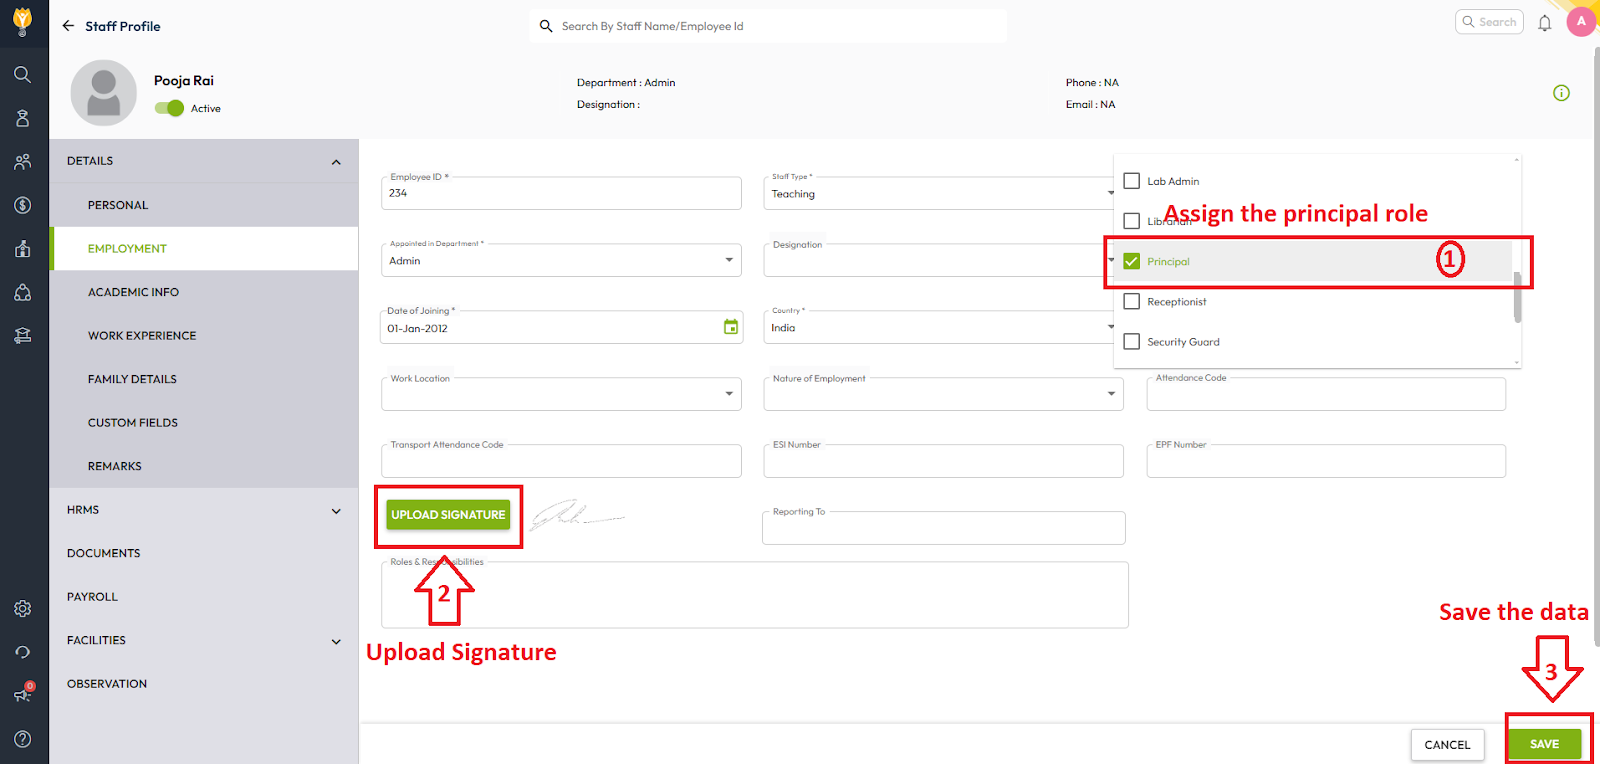
- Open their 360° Profile, then go to the Employment tab
- Click the pencil icon (edit) on the right side
- In the Role field, select Principal
- Locate the Upload Signature button and upload the principal’s digital signature
- Click Save to apply the changes
Part 2: Map Principal Signature to the Student ID Card
⚠️ Important:
This step should only be performed by users familiar with the Visual Editor tool. Incorrect changes may impact layout or data mapping in the final output.
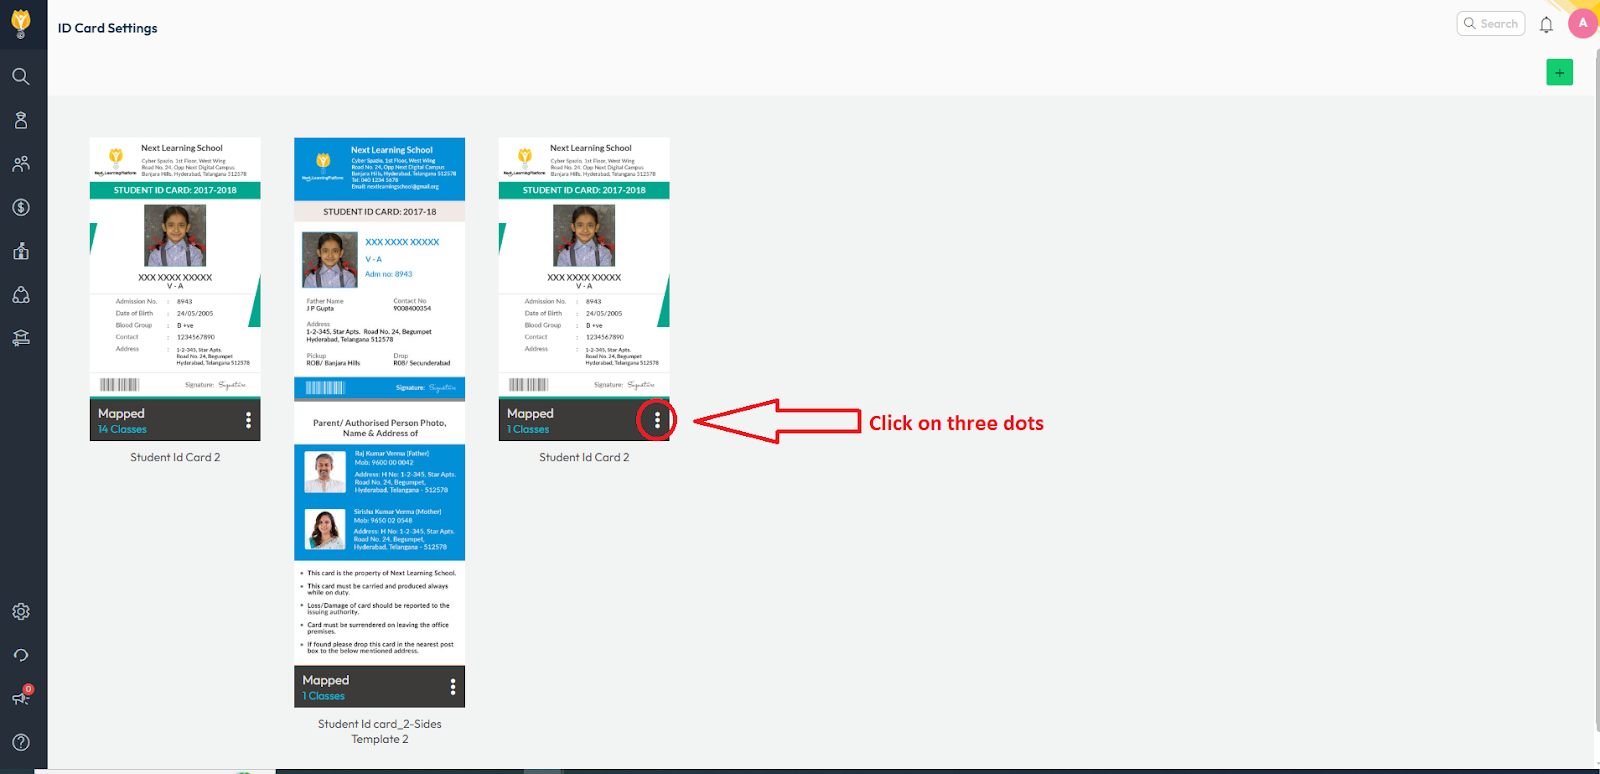
- Navigate to Settings > Student > Student > Student ID Card
- Click the three-dot menu (⋮) and select Edit Template
- Go to the Assets tab and filter by Signature
- In the editor, click the area where you want to place the signature
- Click the “+” button next to principal’s name to add the signature key
- Click Save to apply the changes
- Generate a new ID card to reflect the Principal’s signature
Contact Live Support
If the above steps do not solve your purpose, feel free to contact our support team:
📧 Email: support@nexteducation.in
📞 Toll-free: 1800 200 5566

Video Tutorial :
Was this article helpful to you?
Yes2
No1