Before proceeding, ensure that the Paid Fee Certificate autonumbering and template are configured for your branch.
- Go to Finance > Fee > Download Fee Certificate.
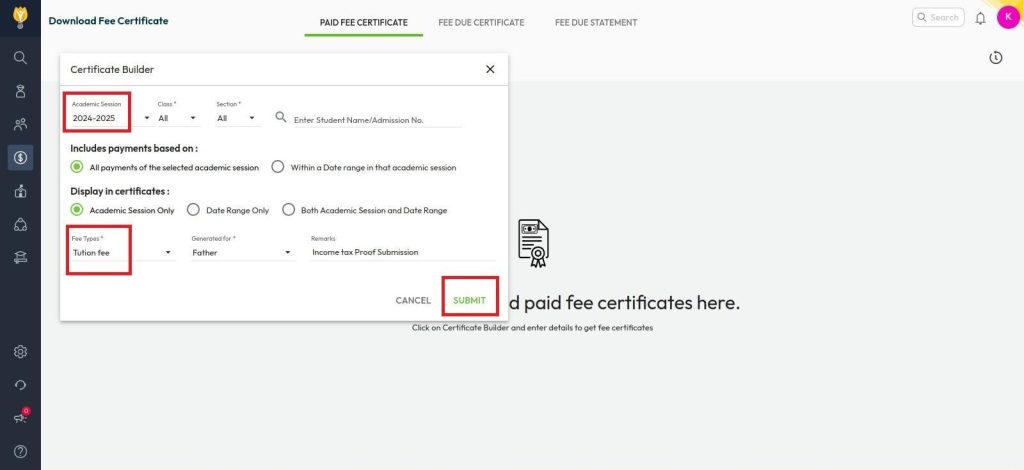
- Select the Paid Fee Certificate tab and click on Certificate Builder.
- In the builder, apply the required filters:
- Academic Session: Select the session for which you want to generate the certificate (e.g., 2025–26).
- Class/Section: Select a specific class and section, or leave it as “All”. You can also search directly by student name or admission number.
- Includes Payments based on: Choose how the system should consider payments:
- All Payments for the Session – includes every payment made during the selected academic session.
- Within a Date Range – enter specific dates if you want to limit it to a time frame.
- Display in Certificate: Decide how the academic session should display in the certificate – Academic Session Only, Date Range Only, Both Academic Session & Date Range.
- Fee Type: Select the type of fee for which the certificate is being issued (e.g., Tuition Fee).
- Generate For: Choose the correct receipient for whom the certificate should be addressed -From Father, Mother, or Both.
- Remarks: Enter the purpose of the certificate (e.g., “Income Tax Proof Submission”). This appears on the certificate.
- Click Submit to view the student list.
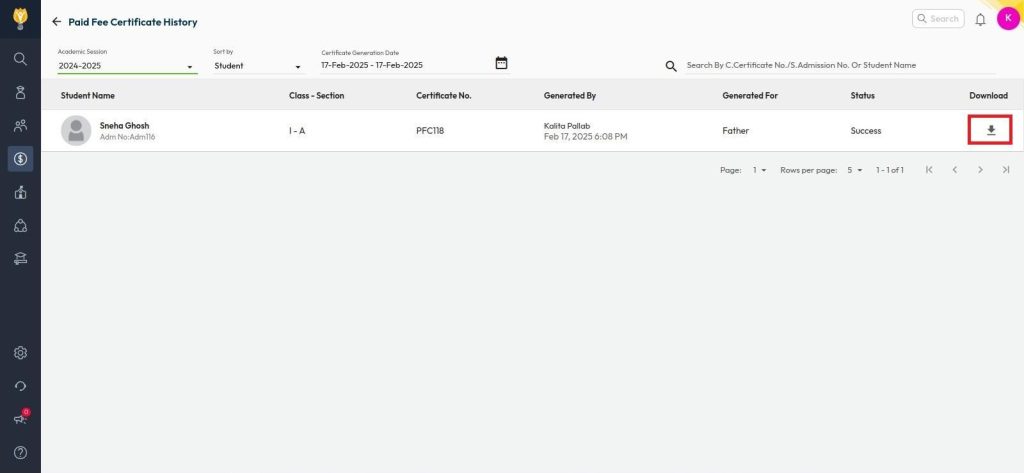
- On the next screen:
- Click Generate to create the certificate for an individual student.
- Or select multiple students, and click Generate All to bulk-generate certificates for the filtered list.
- Click the
 timer icon to view generation history and download certificates in PDF format.
Video Tutorial :
Was this article helpful to you?
Yes0
No0