The Fee Bulk Upload feature allows accountants to record and upload fee collections for multiple students at once – up to 3000 entries in a single upload.
How to Use It:
1. Access the Bulk Upload Section
- Go to: Finance > Fee > Collect Fee
- Click the Bulk Upload icon in the top-right corner.

2. Choose a Template (Pre-defined excel format)
Select from the following templates based on your requirement:
- Template – A : For uploading multiple installments under a single receipt. (Comes as a blank template-cells)

- Template – B : For capturing individual installment payments in a single receipt. (Comes with pre-filled student and due amount data based on selected class and installment)

- Template – C : Flexible template that auto-maps the received amount to pending installments and fee types, starting with the oldest dues. (Best when you only know the amount received, not the exact dues)

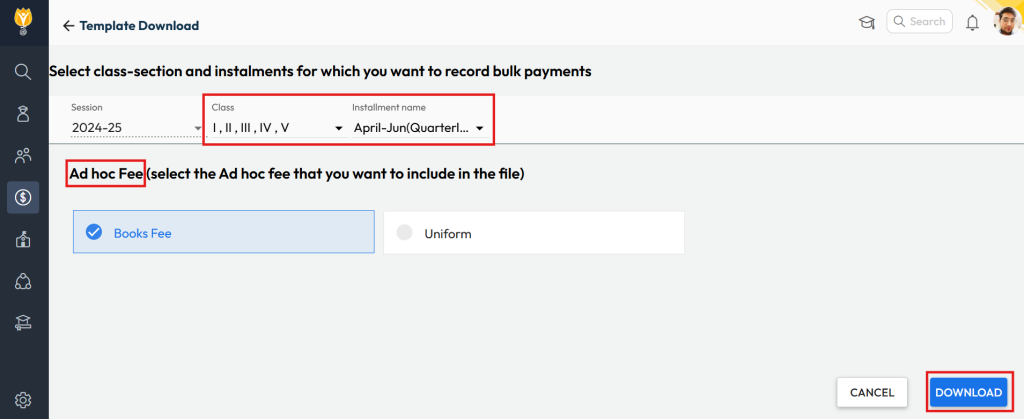
3. Select Filters & Download File:
- Session: Defaults to the currently active session.
- Class: Select one or more classes as needed.
Tip: Select all classes if you want to upload collection in order based on receipt numbers. - Installments: Choose one or more as needed. (For Template A, you can select multiple to include in one receipt.)
- Adhoc Fee: Choose one or more as needed. (For Template A, you can select multiple to include in one receipt.)
Note: Filters are not applicable for Template C. - Click Download to get the Excel template.
4. Prepare the Excel File
- Fill in all required fields for the relevant month’s collections.
Tip: Use the date format DD-MM-YYYY for both Payment and Collection dates.
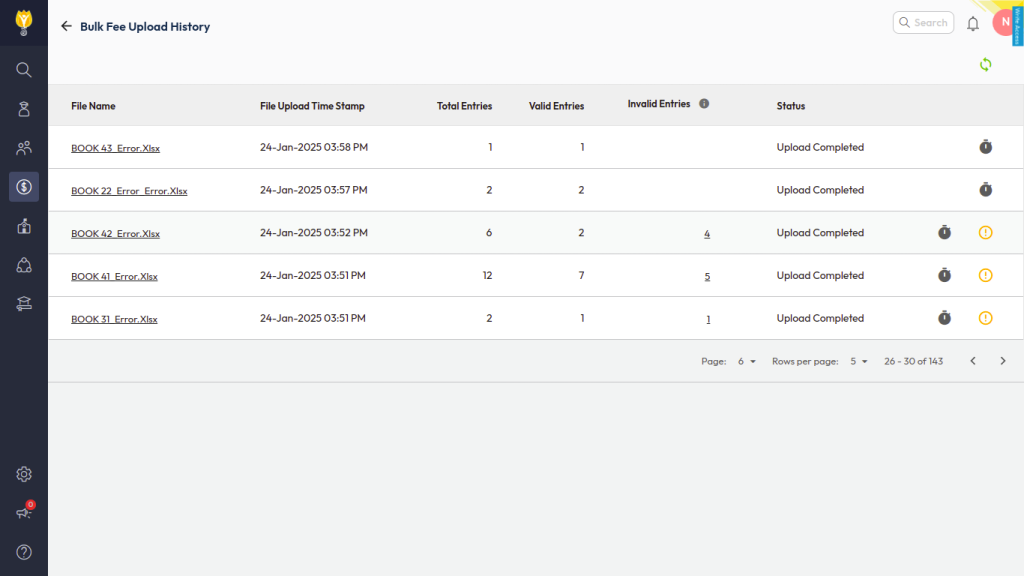
5. Upload & Validate the Excel File
- Upload the filled Excel file from the same page.
- The system will validate the file and display:
- Valid entries – Auto-uploaded into the system.
- Invalid entries – Download the error file, fix the issues, and re-upload.
This completes the bulk fee collection upload and updates student records accordingly.
Video Tutorial :
Was this article helpful to you?
Yes0
No0