

Visit Pass lets a visitor register themselves at the school gate by scanning a QR code, no front-desk staff needed to take down their details. The visitor fills in their own information on their phone, and the request goes to an admin for approval before a pass is issued.
Contents
What is Visit Pass?
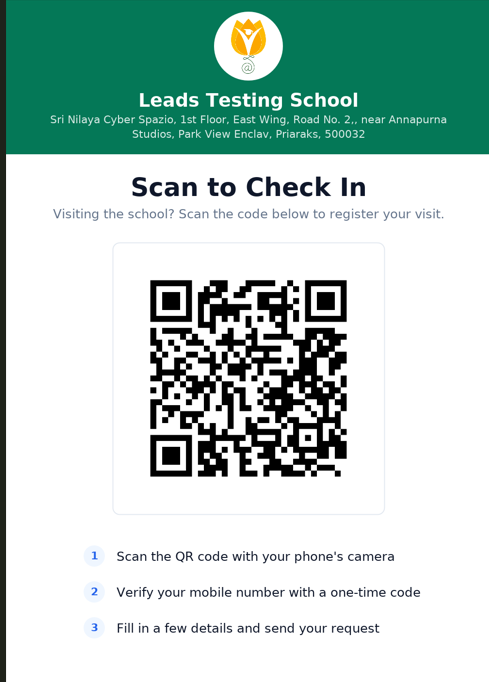
Visit Pass is a self-service, QR code based check-in for school visitors. A poster with a QR code is displayed at the gate; any visitor can scan it with their phone camera to open a short registration form, no app and no login required. Once an admin approves the request, the visitor receives a downloadable Visit Pass.
Where to find it: Front Office Settings > General Settings > Visit Pass (to enable it and get the poster), and Front Office > Visit Management (to approve visitor requests).
What you can do with Visit Pass
- Turn self check-in via QR on or off for your school.
- Download a ready-to-print poster (A4, A5, or A6) carrying your school’s unique QR code.
- Let a visitor register themselves, mobile verification, visitor/parent details, ID proof, and purpose of visit, without a staff member filling it in for them.
- Review and approve or decline each visit request before a pass is issued.
How to enable Visit Pass
- Go to Front Office > Front Office Settings > General Settings.
- Click Visit Pass to expand that section.
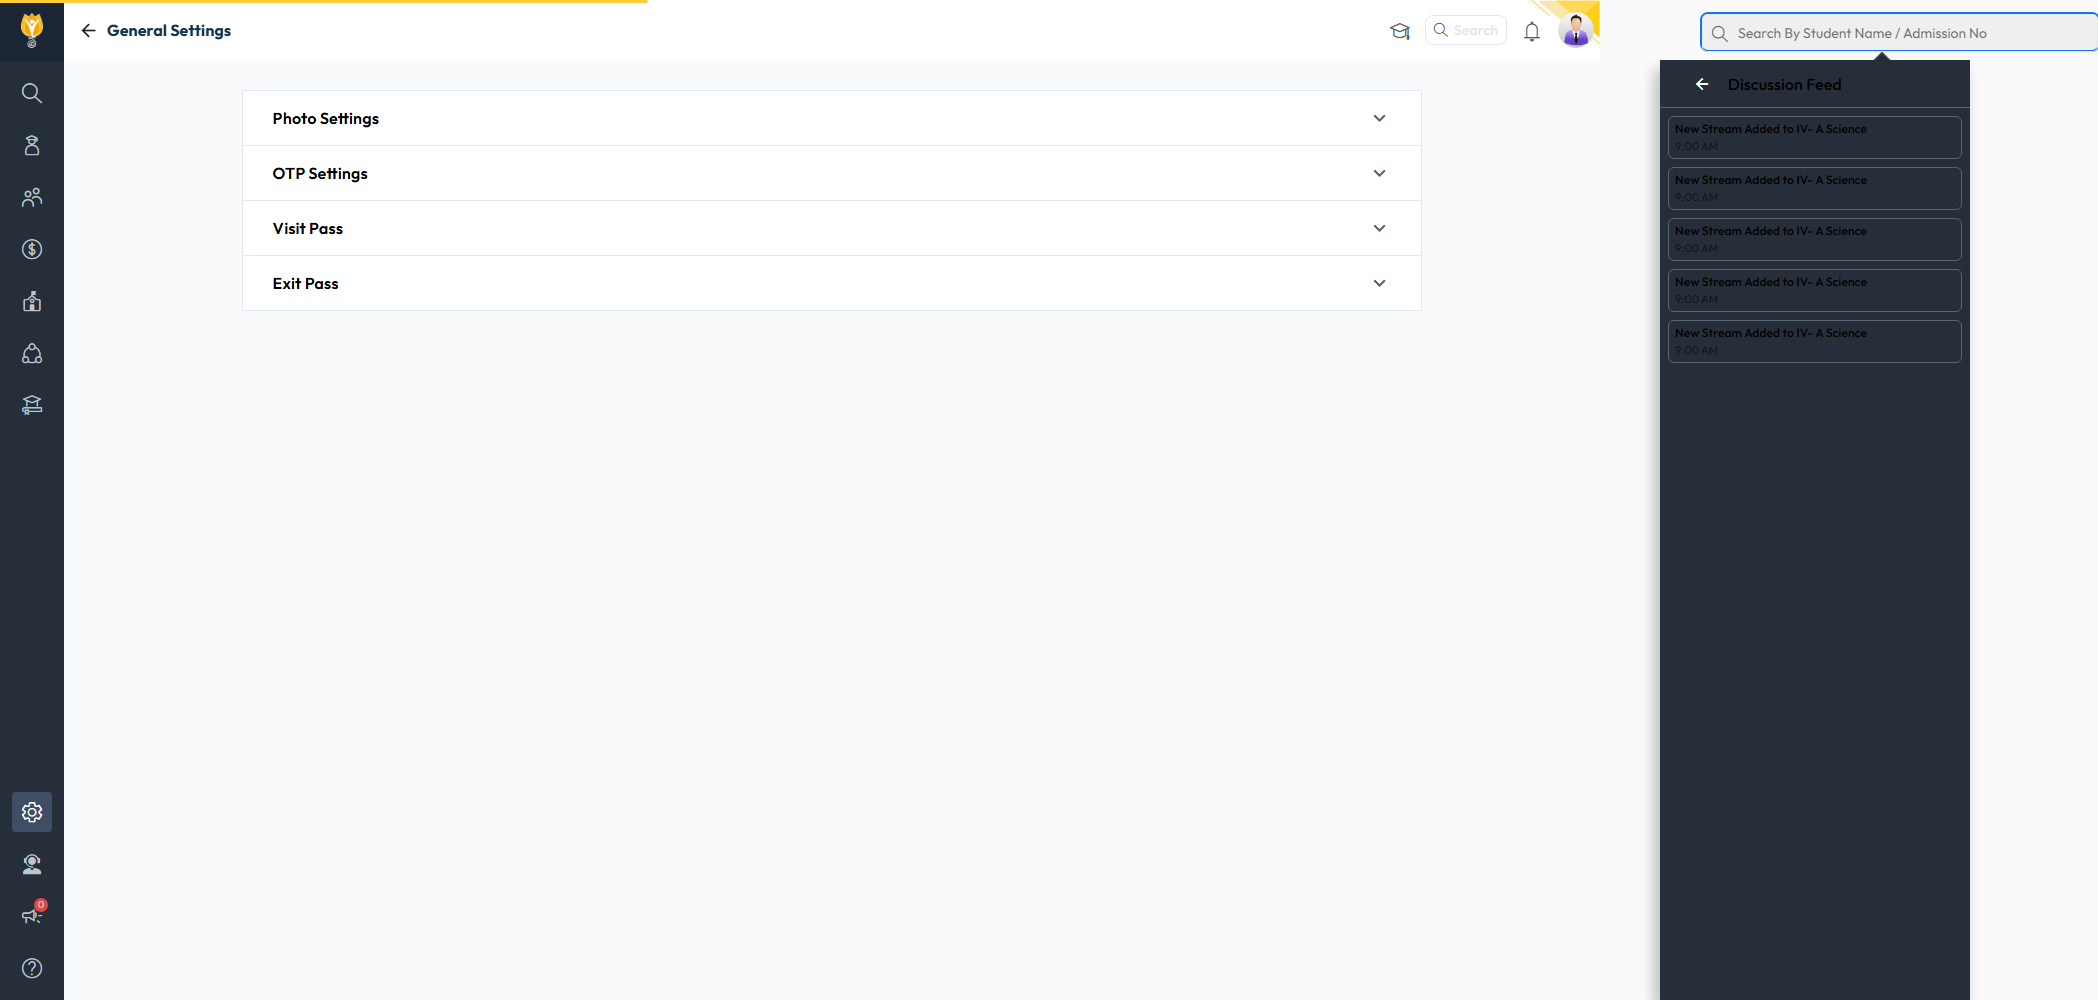
OTP Settings, Visit Pass, Exit Pass
Inside, you will see the Enable self check-in via QR toggle (off by default), and a choice of pass paper size: A4, A5, or A6.
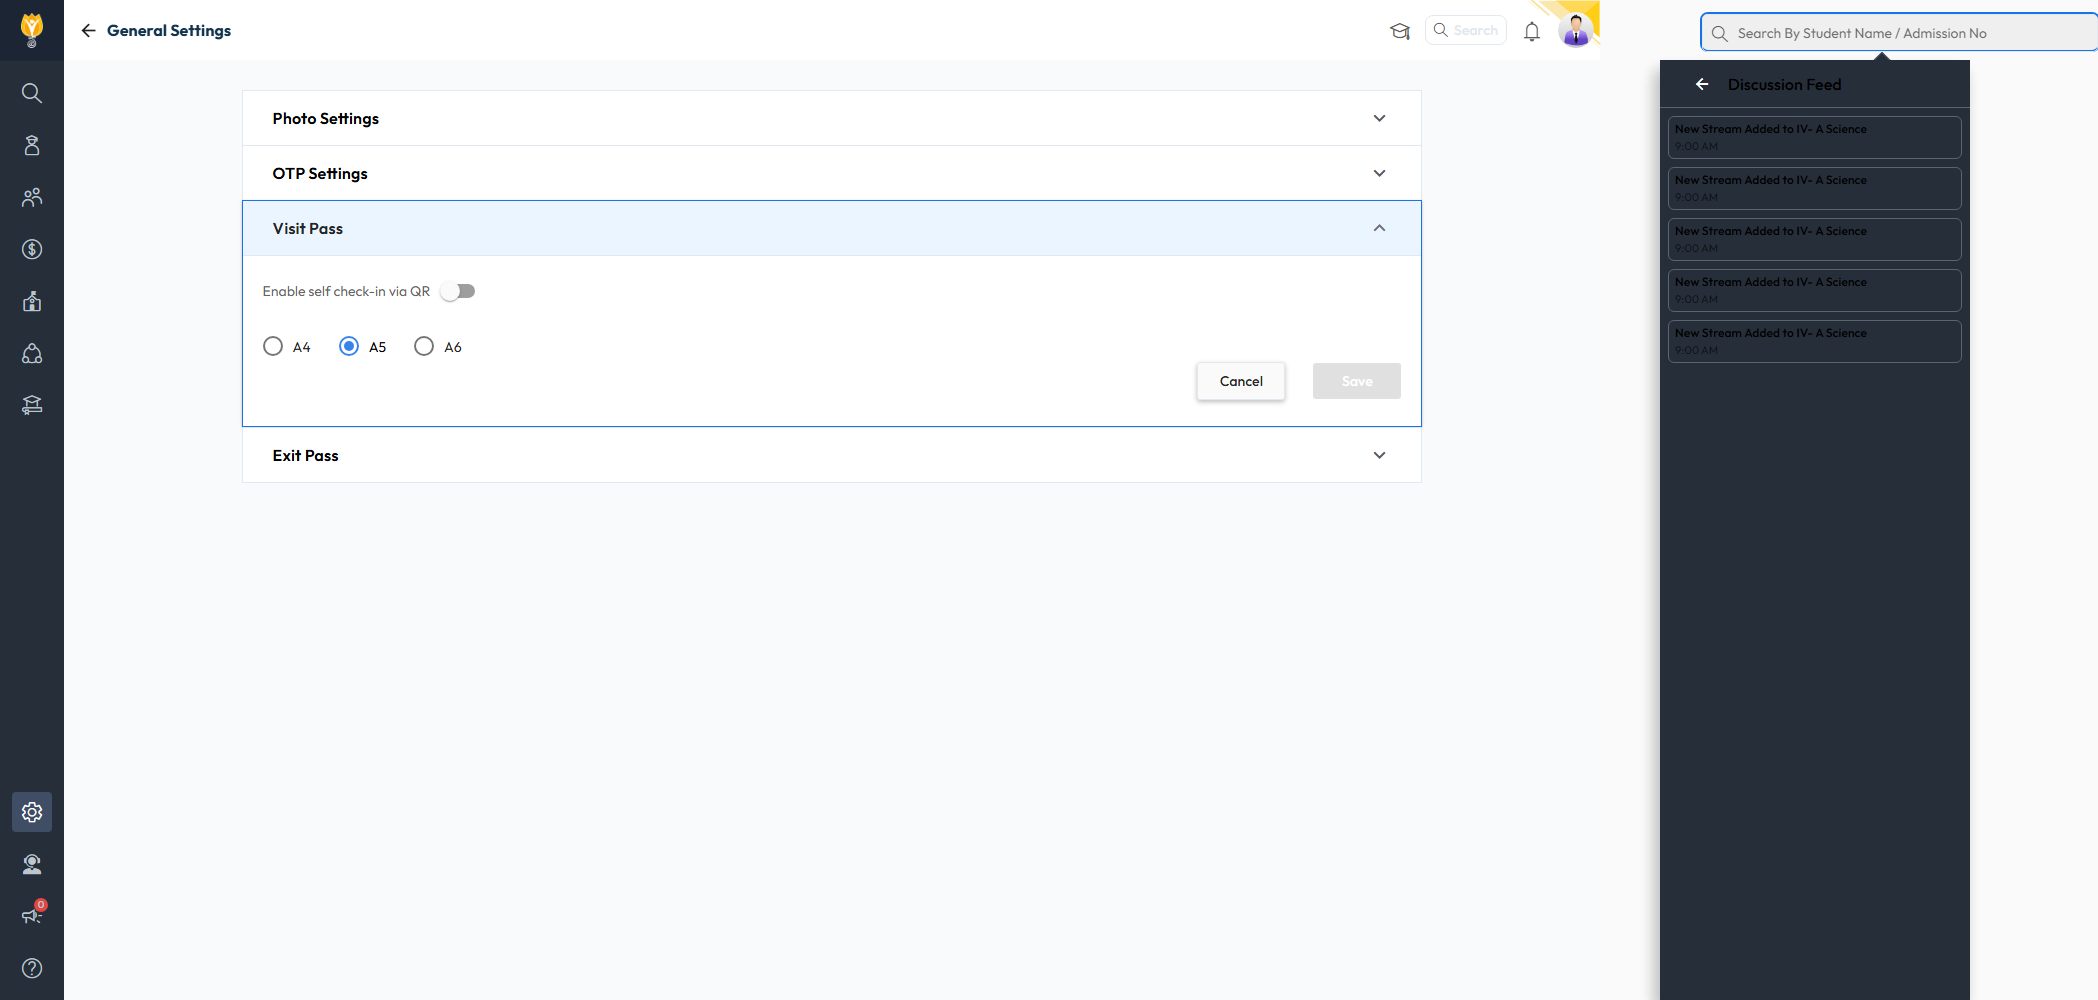
pass size options A4/A5/A6
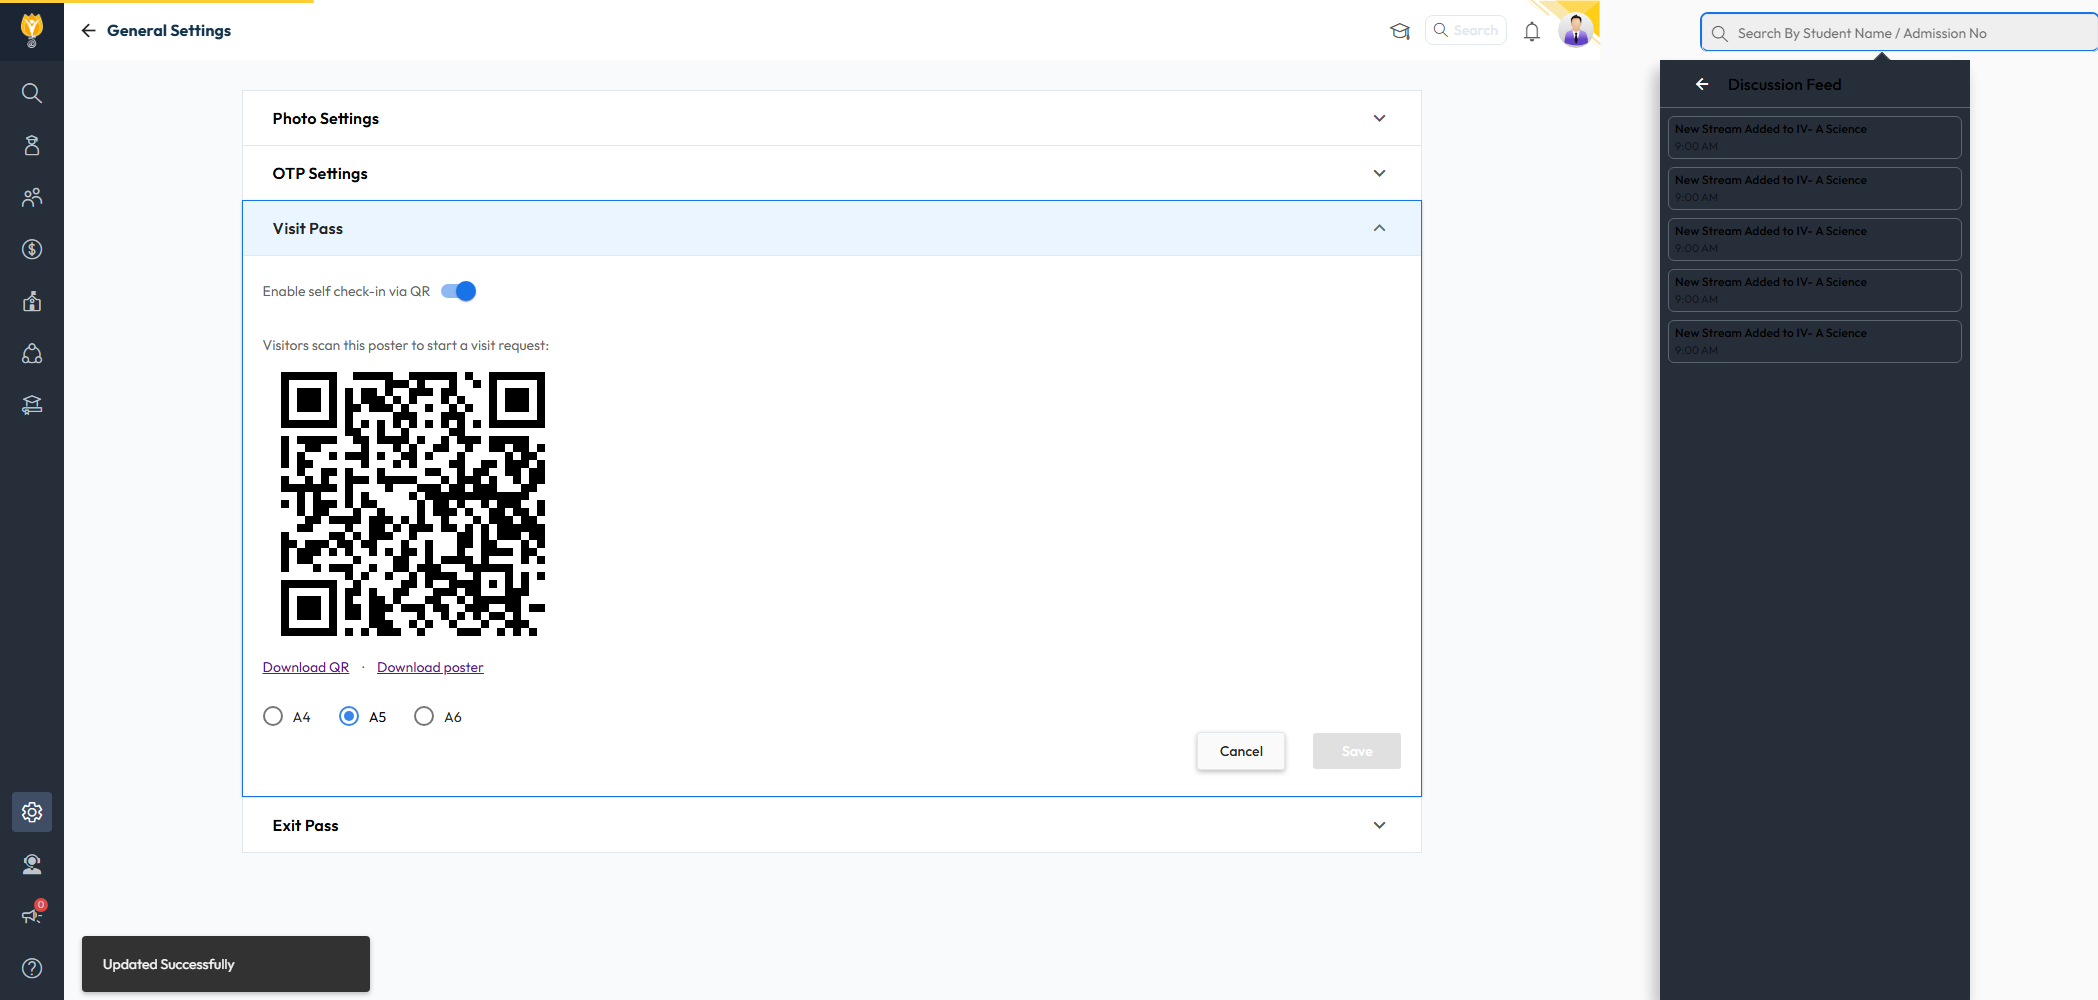
- Turn on Enable self check-in via QR. The setting saves automatically.
- Your school’s QR poster appears immediately, along with Download QR (the QR code image alone) and Download poster (a print-ready poster) links.
- Pick your preferred paper size (A4/A5/A6) and print the poster for display at the gate or reception.
What the visitor sees
When a visitor scans the poster, they land on a short, mobile-friendly form, no login required:
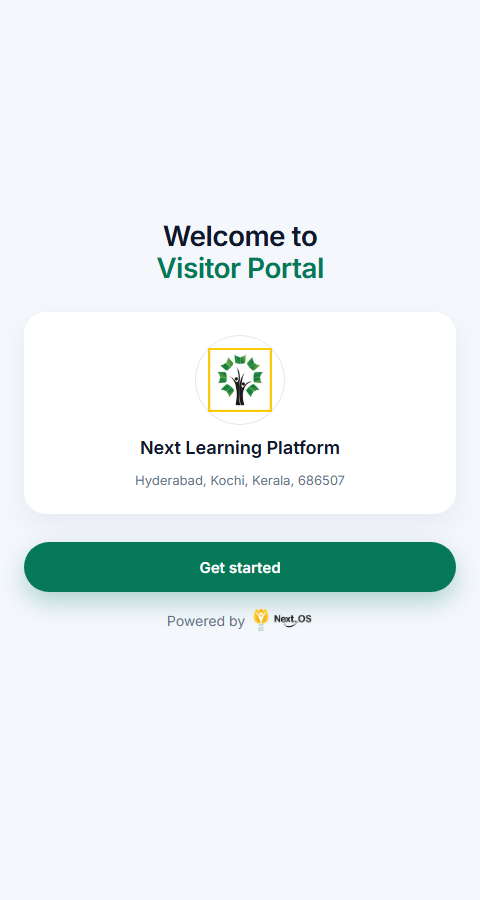
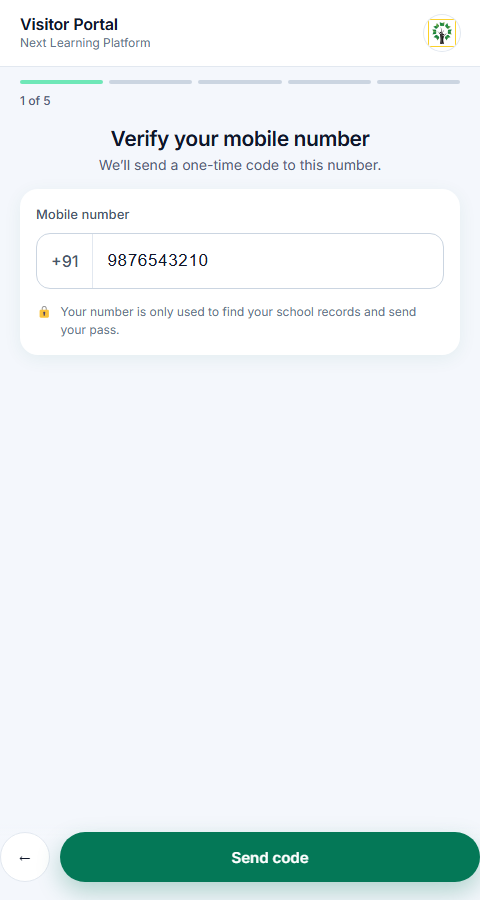
- Verify mobile number, the visitor enters their phone number to receive a one-time code.
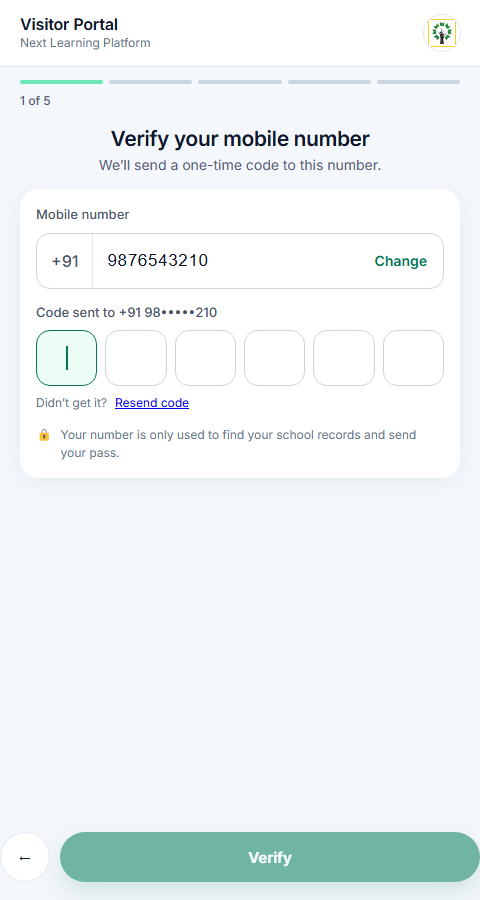
- They enter the 6-digit code sent to their number to verify it, with an option to resend.
- Visitor type, the system checks if the number matches an existing parent record; otherwise the visitor continues as a general Visitor.
- About you, name, organisation (for visitors) or relation and student/class details (for parents), ID proof details, and a live photo of the visitor plus their ID.
- Purpose, the category and reason for the visit, who they are meeting, and the visit date/time.
- Review and submit, the visitor confirms the details and submits the request.
After submitting, the visitor sees a Pending status until an admin reviews the request. Once approved, they can view and download their Visit Pass right on the same screen, showing their photo, the validity window, who they’re meeting, the purpose and reason for the visit, and a QR code unique to that pass:
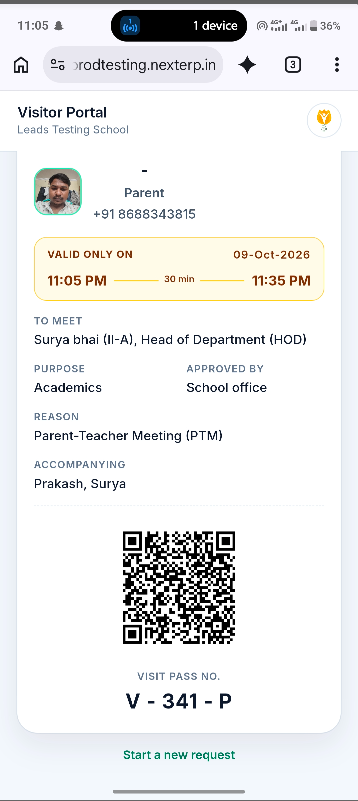
If declined, the visitor sees the decline status instead. A visitor can also return later and resume a pending request instead of starting over.
Approving a visit request
- Go to Front Office > Visit Management.
- Open the Approval Pending tab to see every QR-submitted request waiting for review.
- Open a request to view the visitor’s details, then approve or decline it.
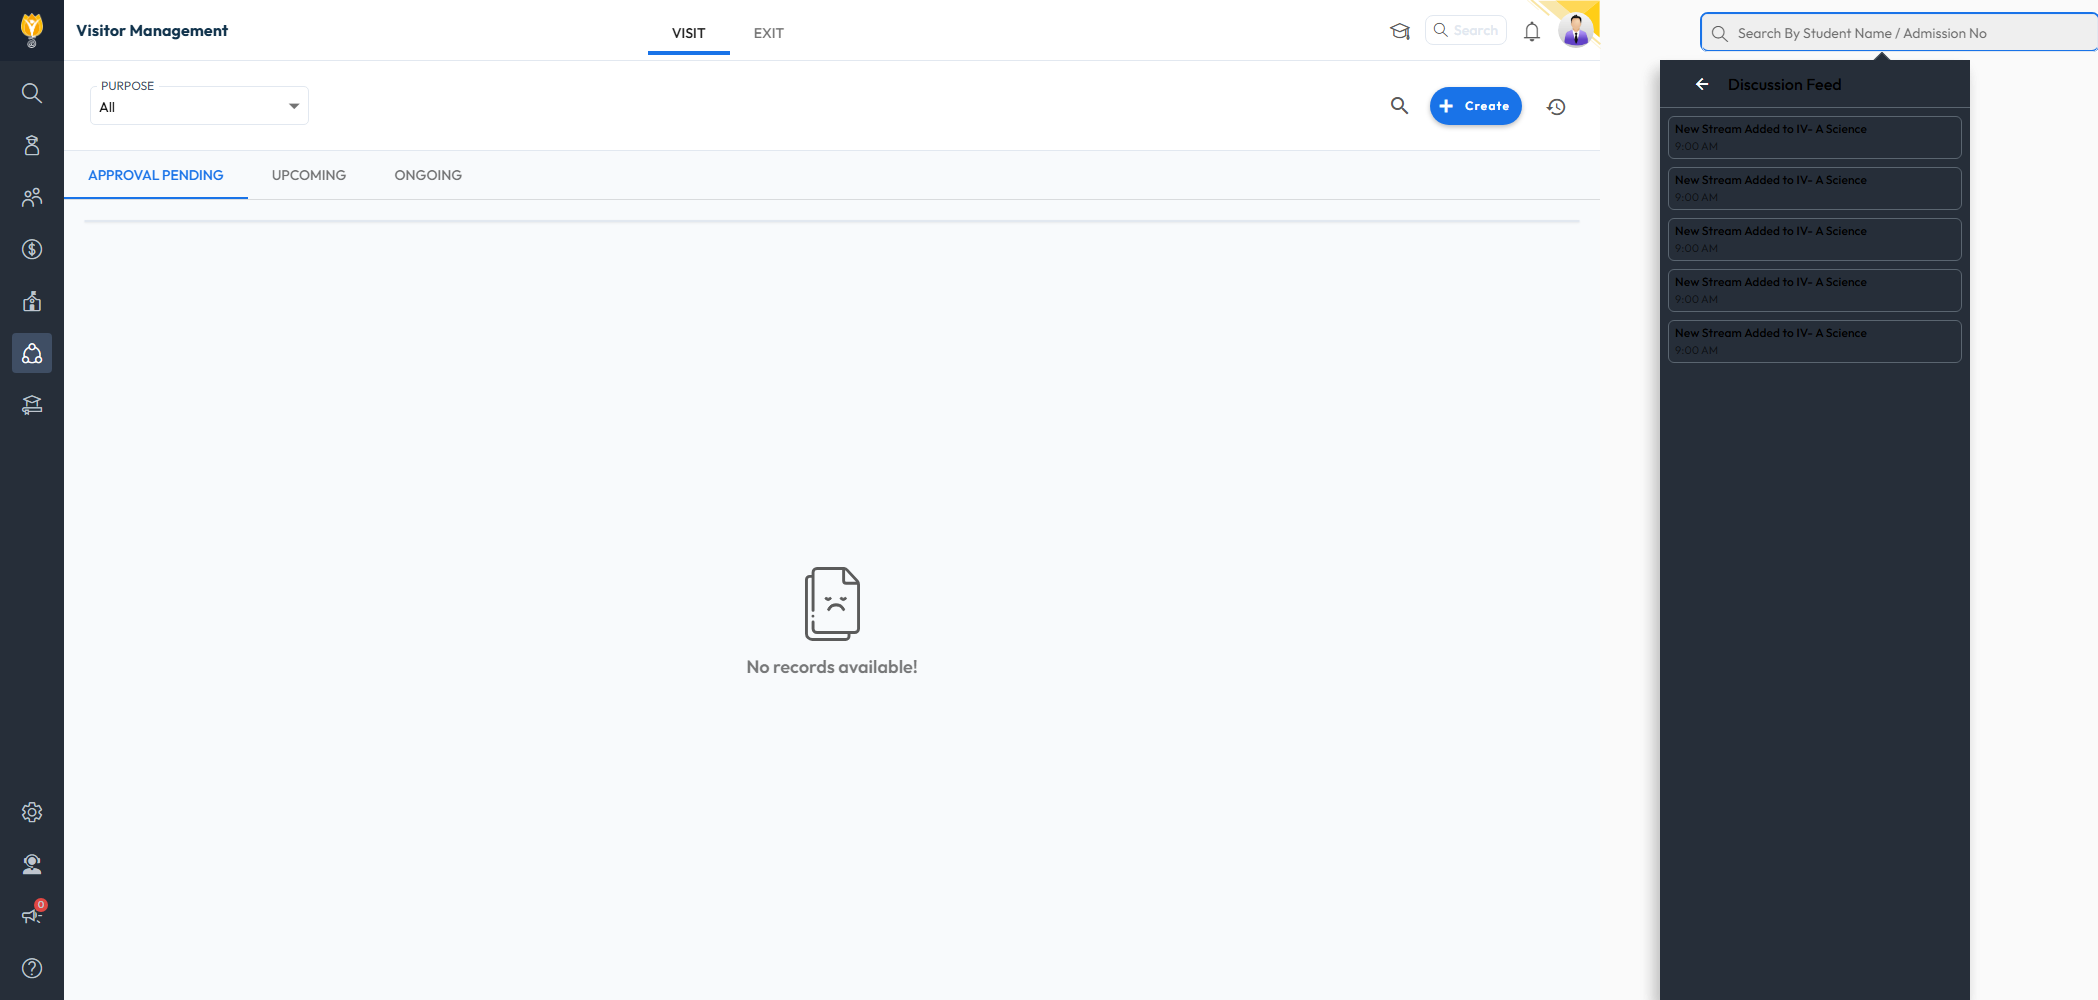
Once approved, the visitor’s pass becomes available for them to view and download on their own device.