Prerequisite
Before proceeding, ensure that the Academic Session is defined and classes are mapped for the upcoming academic year.
For guidance on setting up the academic session, refer to:
[How to configure the academic session for the school?]
Step-by-Step Configuration
Step 1: Navigate to Settings -> Student -> Admission.
Step 2: Click on Admission Process.
Step 3: Click on the Pencil ![]() icon to Edit.
icon to Edit.
Step 4: Toggle ![]() the button next to Enable Online Admission to activate the online admission feature.
the button next to Enable Online Admission to activate the online admission feature.
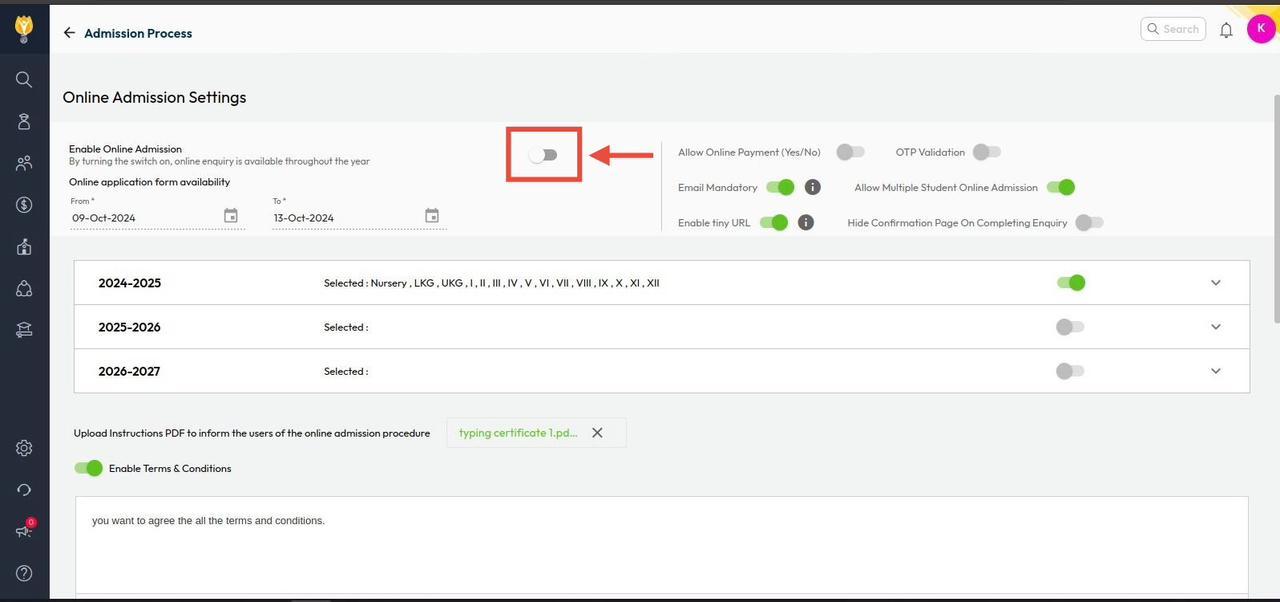
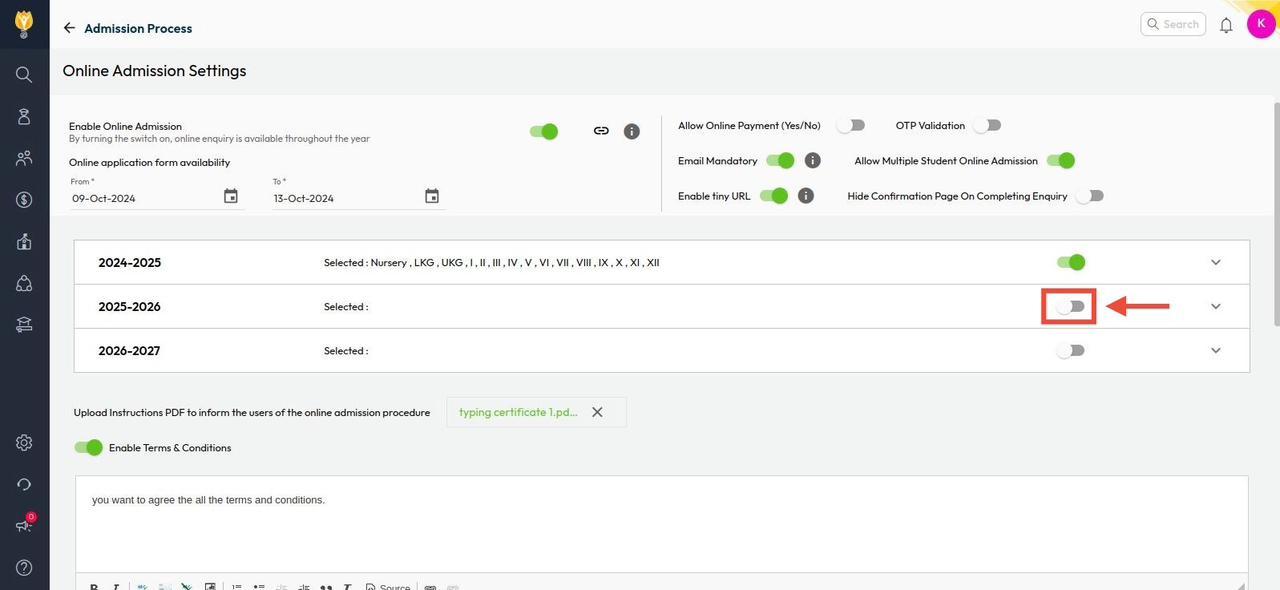
Step 5: Scroll down and toggle ![]() the button for the session name for which you want to enable online admission.
the button for the session name for which you want to enable online admission.
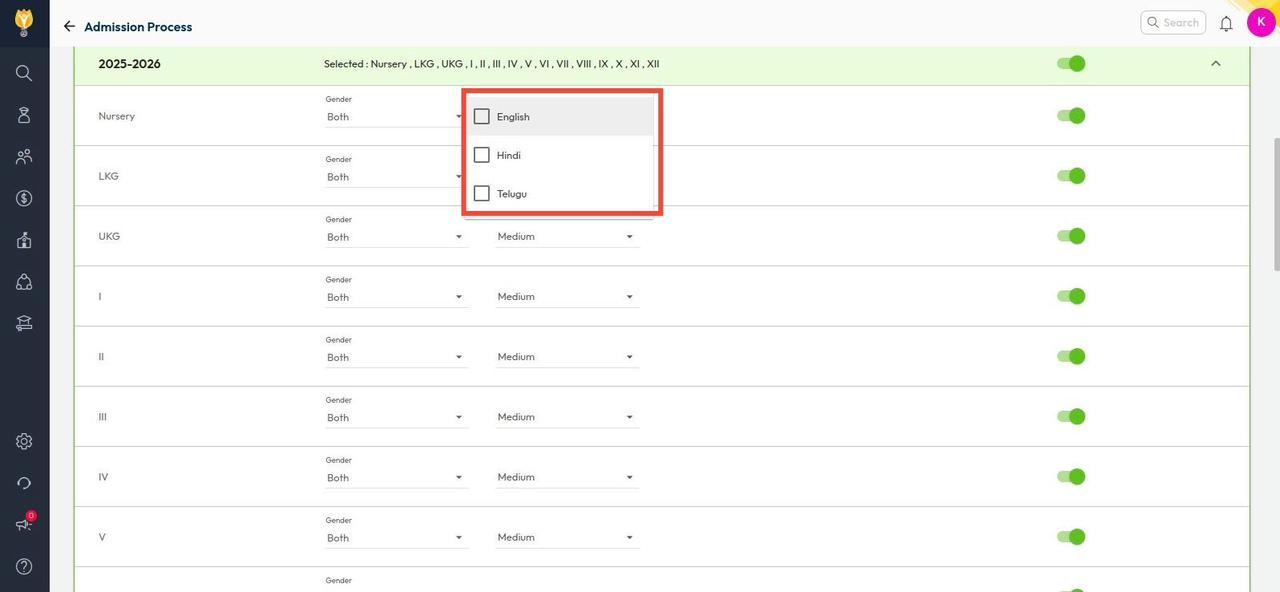
Step 6: By default, admission will be enabled for all available classes. You can disable it for specific classes if you do not wish to open admission for them.
Step 7: Choose the Medium for each class.
Note: You can either save the settings at this point or continue updating additional important details.
Instructions & Terms & Conditions
Step 8: You can upload a PDF containing instructions that parents must follow before filling out the Enquiry Form.
Step 9: Enable Terms & Conditions and enter the required information. This will allow new applicants to refer to the terms before submitting their application form.
Step 10: Enter a custom success message that will be shown to parents once they complete the enquiry process. If left blank, the default success message will be displayed.
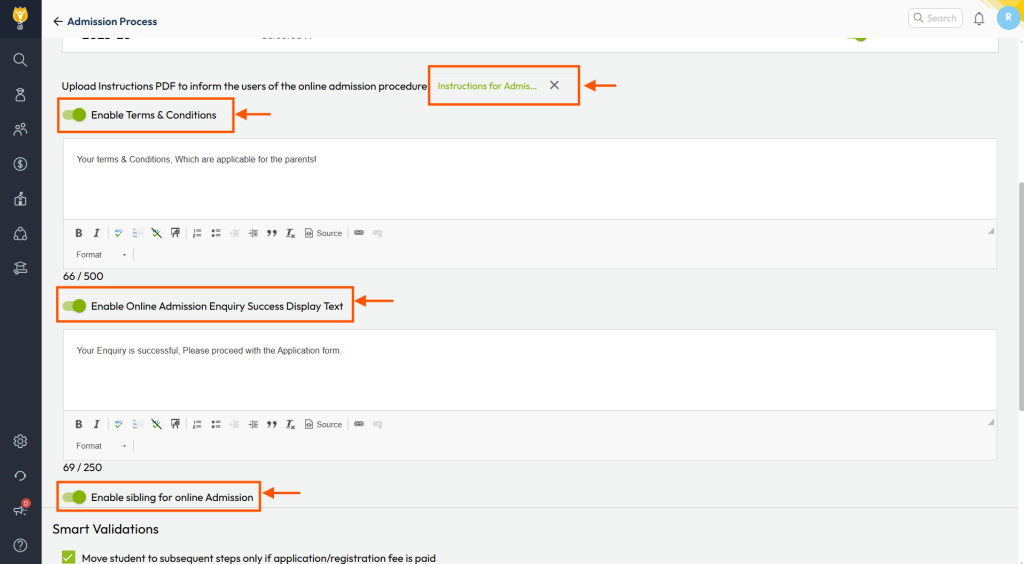
Sibling Configuration
Step 11: Enable the Sibling feature. This allows new applicants to select a sibling who is currently studying at the school.
Note: If the Sibling Concession setup is done, the student can automatically receive applicable concession benefits.
For more information on Smart Validation and additional features, refer to:
[What is Smart Validation, and how is it helpful in the admission process?]
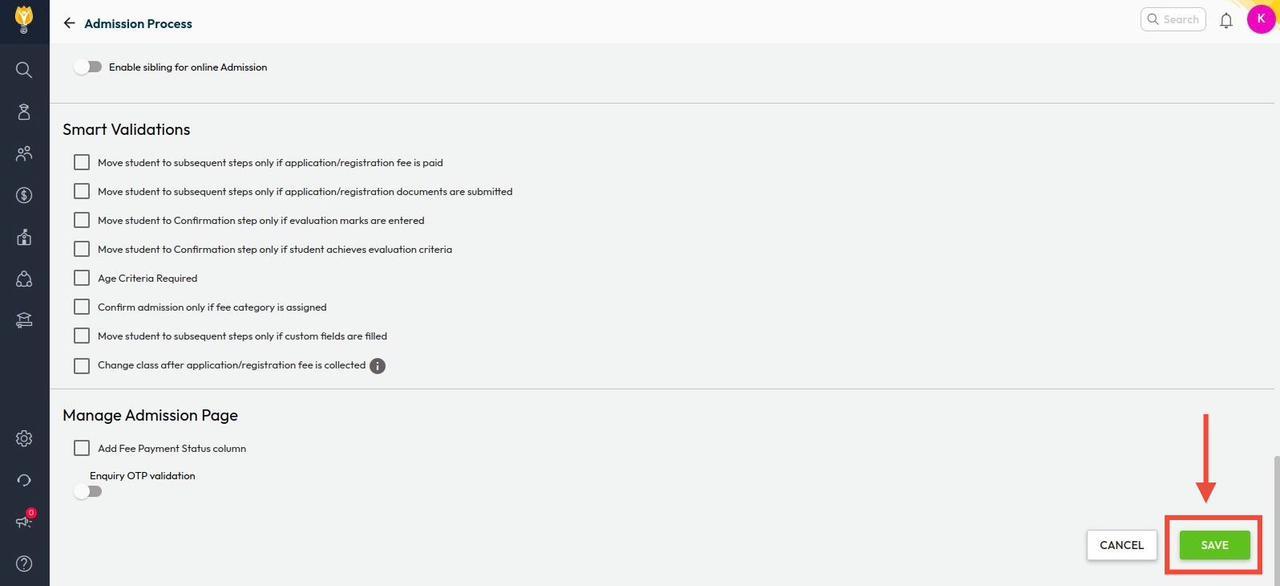
Step 12: Scroll down and click SAVE to apply the changes.