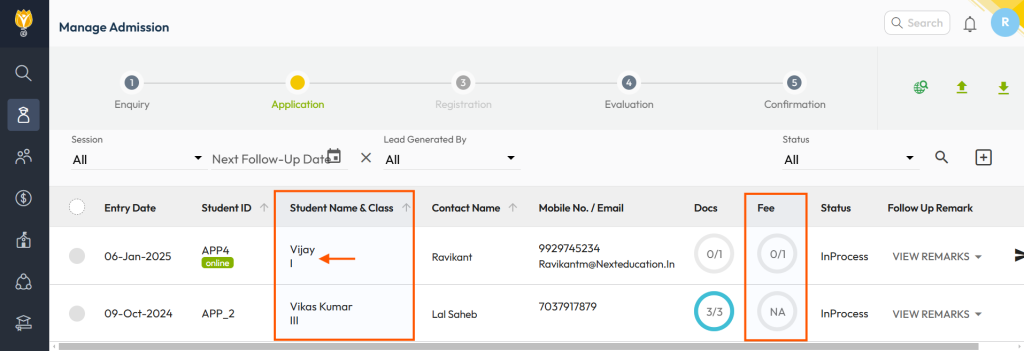
Step 1: Navigate to Student -> Admission -> Manage Admission
Step 2: Click on the student’s name under the application status.
📌 Note: If you are performing this action under the Registration step, you can follow the same steps there as well.
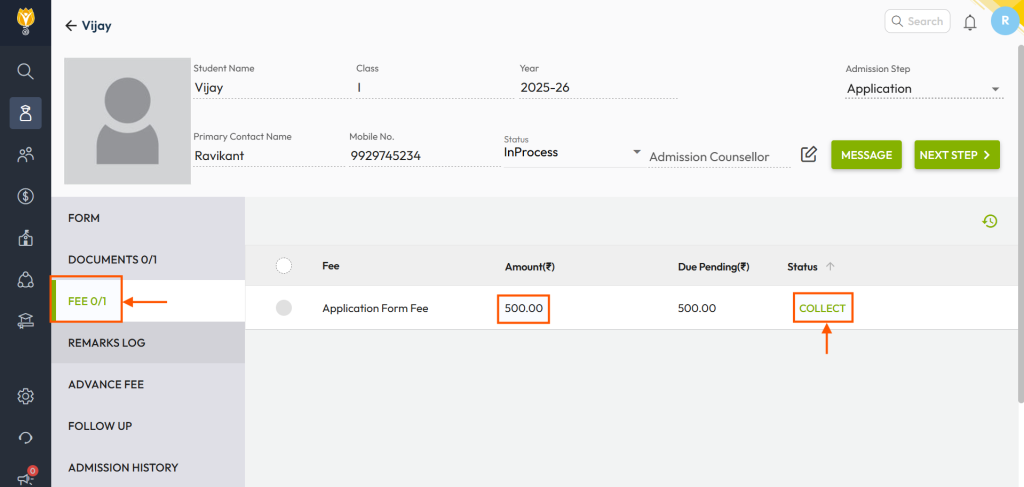
Step 3: Click on Fee option.
Step 4: Verify the collectable amount and click on Collect.
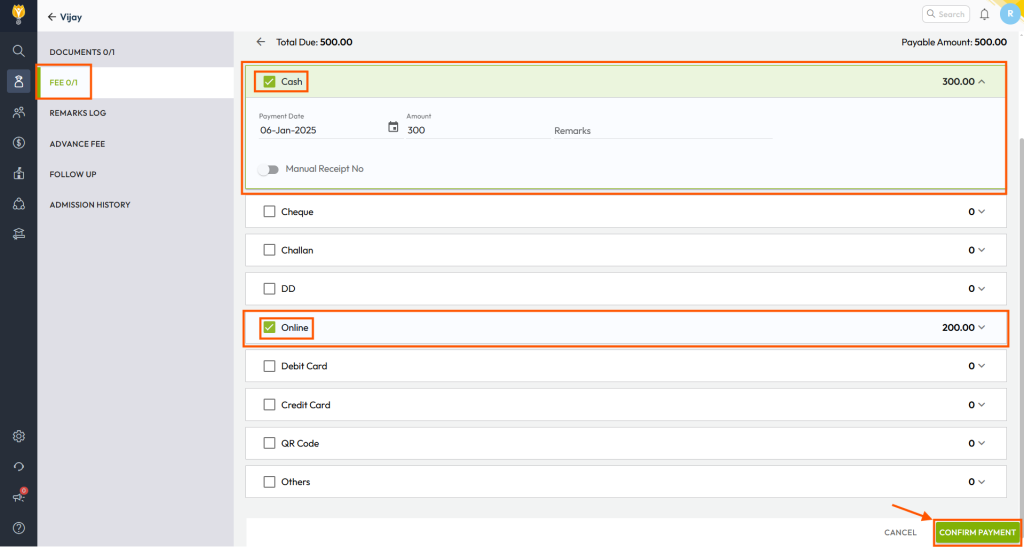
Step 5: On the next screen, choose the desired payment mode from the available options, such as Cash, Cheque, Online, or Multi-mode.
📌 Note: If you are using Multi-mode, enter the amount for each payment method along with the payment date.
Step 6: Click on Confirm Payment to generate the Fee Receipt.
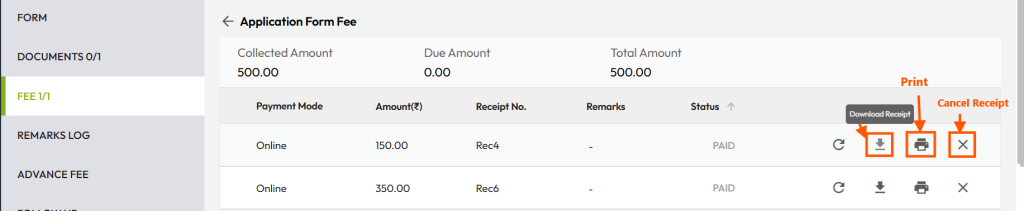
Step 7: Click on the View Icon to:
- Download the receipt in PDF format.
- Print the receipt using the installed printer.
- Cancel the receipt if it was mistakenly generated.

Was this article helpful to you?
Yes2
No0